Disclosure: As an Amazon Associate, CardWise earns from qualifying purchases at no additional cost to you. This does not affect our recommendations.
NFC Smart Home Automation Guide (2026)
NFC tags are the cheapest, most reliable physical trigger for smart home automations. Stick a tag on your nightstand — tap it with your phone to turn off lights, lock doors, set an alarm, and play white noise. No battery, no Wi-Fi, no Bluetooth pairing. The tag lasts 10+ years and costs under $1.
Why NFC for Smart Home?
Compared to other smart home triggers (voice assistants, motion sensors, geofencing), NFC has unique advantages:
| Feature | NFC Tags | Voice Assistant | Motion Sensor | Geofence |
|---|---|---|---|---|
| Cost | $0.50/tag | $30-100 | $25-50 | Free (GPS) |
| Power needed | None (passive) | Wall power | Battery | Phone GPS |
| Latency | Instant tap | 2-3 sec | 5-30 sec | Minutes |
| Multiple users | Each person taps | Anyone's voice | Anyone | Per person |
| Privacy | Physical tap only | Always listening | Always watching | Always tracking |
| Reliability | 10+ years | Internet required | Battery dies | GPS drift |
Choosing NFC Tags for Smart Home
For smart home automation, you need NTAG215 tags. Here's why:
- NTAG215 (504 bytes): Enough storage for URLs and automation triggers. Compatible with iPhone and Android. Most cost-effective.
- NTAG216 (888 bytes): More storage, but overkill for smart home (you only need a short URL). More expensive.
- NTAG213 (144 bytes): Cheapest, but very limited storage. Works for simple URL triggers but less future-proof.
For metal surfaces (fridge, metal door frames), you need anti-metal NTAG215 tags — these have a ferrite layer that prevents the metal from interfering with the NFC signal.

Recommended: NTAG215 Stickers (50-pack)
50 anti-metal NTAG215 stickers for ~$15. Perfect for smart home — place them on nightstands, door frames, fridge, desk, and walls. Anti-metal backing works on any surface.
Check Price on Amazon
Alternative: NTAG215 NFC Business Cards (10-pack)
PVC card format — sturdier than stickers. Good for placing on flat surfaces. 504 bytes, programmable, ~$7 for 10 cards.
Check Price on AmazoniPhone Setup: Shortcuts + NFC
iPhone makes NFC automation incredibly easy with the built-in Shortcuts app (no third-party app needed for automation triggers):
Step 1: Create a Shortcut
- Open the Shortcuts app on your iPhone
- Tap the + button to create a new shortcut
- Add actions: e.g., "Set Brightness 0%", "Lock Front Door" (if you have a smart lock), "Set Alarm 7:00 AM"
- Name the shortcut (e.g., "Goodnight")
Step 2: Create an NFC Automation
- In Shortcuts, go to Automation tab
- Tap + to create a new automation
- Choose NFC as the trigger
- Tap Scan and hold your phone near the NFC tag
- Name the tag (e.g., "Bedside Tag")
- Select Run immediately (no confirmation needed)
- Choose the shortcut you created in Step 1
Step 3: Test
Tap your phone against the NFC tag. Your shortcut should run instantly — lights dim, door locks, alarm sets. No tap on notification needed if you selected "Run immediately."
Android Setup: Tasker + NFC
Android gives you more flexibility — you can trigger from the tag's NDEF content (URL) rather than just the UID, and use Tasker for complex automations:
Option A: Tasker NFC Profile
- Install Tasker ($3.49 on Play Store) — powerful automation engine
- Create a new Profile > State > Hardware > NFC Tag
- Configure the tag type and content filter (e.g., URL containing "goodnight")
- Link to a Task that controls your smart home devices
Option B: Write a URL and Use a Launcher
- Use NFC Tools app to write a custom URL to the tag (e.g.,
shortcut://goodnightorintent://smarthome/goodnight) - Install an app like NFC Tasks (free, by the same developer as NFC Tools)
- NFC Tasks reads the URL and executes the corresponding action (Wi-Fi toggle, Bluetooth, launch app, send HTTP request to smart home API)
Option C: HTTP Request to Home Assistant
If you run Home Assistant, write a webhook URL to the NFC tag:
When you tap the tag, your phone sends an HTTP request to Home Assistant, which executes the automation. This works on both iPhone (via Shortcuts) and Android (via NFC Tasks).
10 Smart Home NFC Automations to Try
| # | Tag Location | Automation | Actions |
|---|---|---|---|
| 1 | Bedside | Goodnight | Lights off, doors lock, alarm set, white noise on |
| 2 | Bedside | Good morning | Lights 30%, coffee maker on, weather briefing |
| 3 | Front door | Leaving home | Lights off, thermostat eco, doors lock, alarm arm |
| 4 | Front door | Arriving home | Lights on, thermostat comfort, door unlock |
| 5 | TV stand | Movie mode | Lights dim 10%, TV on, soundbar on, blinds close |
| 6 | Desk | Focus mode | Phone DND, specific playlist, smart lights cool white |
| 7 | Kitchen | Cooking timer | Set 30-min timer, play podcast, cooking lights on |
| 8 | Gym area | Workout | Fan on, workout playlist, log start time, timer |
| 9 | Guest room | Guest mode | Wi-Fi password share, guest lights, temporary access |
| 10 | Garage | Garage departure | Garage door open, navigation to work, traffic report |
Writing NFC Tags for Smart Home
To write data to your NFC tags, you don't need a desktop reader — your phone can write directly:
Using NFC Tools (iOS/Android)
- Download NFC Tools (free, by Wakdev)
- Open the app and go to Write tab
- Add a record: Custom URL/URI
- Enter your automation URL (e.g.,
https://homeassistant.local/api/webhook/goodnight) - Tap Write and hold your phone near the tag
For more complex NDEF records (smart poster, vCard, custom MIME types), use our online NDEF Writer tool to generate the hex payload, then write it via NFC Tools.
Anti-Metal Tags: Why They Matter
Standard NFC tags don't work on metal surfaces — the metal creates eddy currents that absorb the NFC signal. If you're placing tags on a fridge, metal door frame, or aluminum-covered surface, you need anti-metal NFC tags (also called "on-metal" tags). These have a ferrite layer that isolates the antenna from the metal surface.
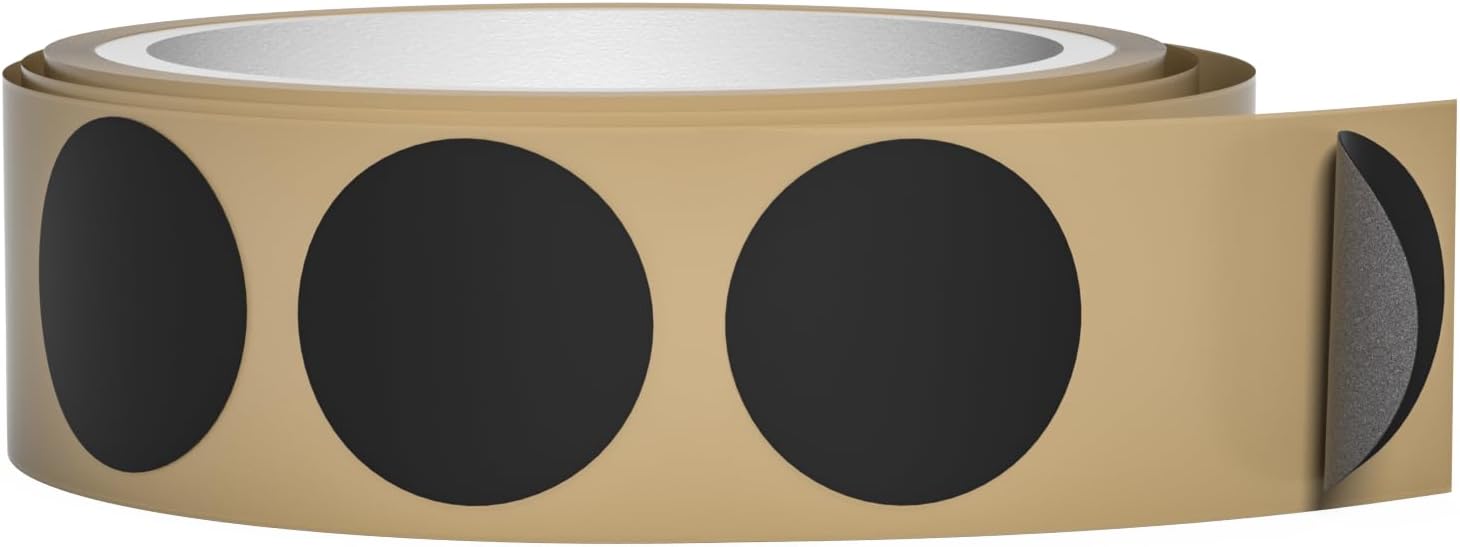
Anti-Metal NTAG215 Stickers (20-pack)
Works on metal surfaces — fridges, door frames, metal desks. 20 tags for ~$8. Essential for kitchen and garage automations.
Check Price on AmazonPrivacy and Security Considerations
- NFC tags are read-only triggers — someone would need physical access to your tag to read it. There's no remote attack surface.
- Tags don't store personal data — they contain a URL or identifier. No passwords, no tokens, no user data.
- Anyone can tap the tag — if your automation unlocks a door, anyone who knows the tag location can trigger it. For security-critical automations, use a private webhook URL (unguessable) or add a confirmation step in Shortcuts.
- Use HTTPS — if your tag points to a webhook URL, make sure it uses HTTPS to prevent MITM attacks.
Troubleshooting
| Problem | Solution |
|---|---|
| iPhone doesn't detect the tag | Hold the top of the phone (where NFC antenna is) near the tag for 1-2 seconds. Remove thick cases. |
| Tag works intermittently | Check for metal underneath. Use anti-metal tags on metal surfaces. |
| Automation doesn't fire | On iPhone, make sure "Run immediately" is selected. On Android, check Tasker's NFC permission. |
| Can't write to tag | Tag may be locked/read-only. NTAG tags can be permanently locked — get a new writable tag. |
| Tag triggers wrong automation | On iPhone, each tag can only have one automation. Use multiple tags for different automations. |
Going Further
- NFC Smart Rings — Wear the trigger on your finger. See our Best NFC Smart Rings guide.
- NFC Business Cards — Share your contact info via tap. See Best NFC Business Cards.
- NDEF Writing Guide — Learn all NDEF record types in our NDEF Writing Guide.
- NFC Tag Selection — Compare chip types in our NFC Tag Selection Guide.
- Online Tools — NDEF Parser, NDEF Writer, NFC Tag Detector.